How to Install a Home Weather Station
Key Takeaways
- Choose the right location for optimal weather data collection.
- Follow manufacturer instructions carefully during installation.
- Regularly maintain your weather station for accurate readings.
- Consider using a pluviograph for precise rainfall measurements.
- Connect the weather station to your home network for remote access.
Installing a home weather station can be an exciting DIY project that helps you monitor local weather conditions accurately. This guide provides a step-by-step approach to setting up your own weather station, ensuring you get precise data for your home environment.
Understanding Home Weather Stations
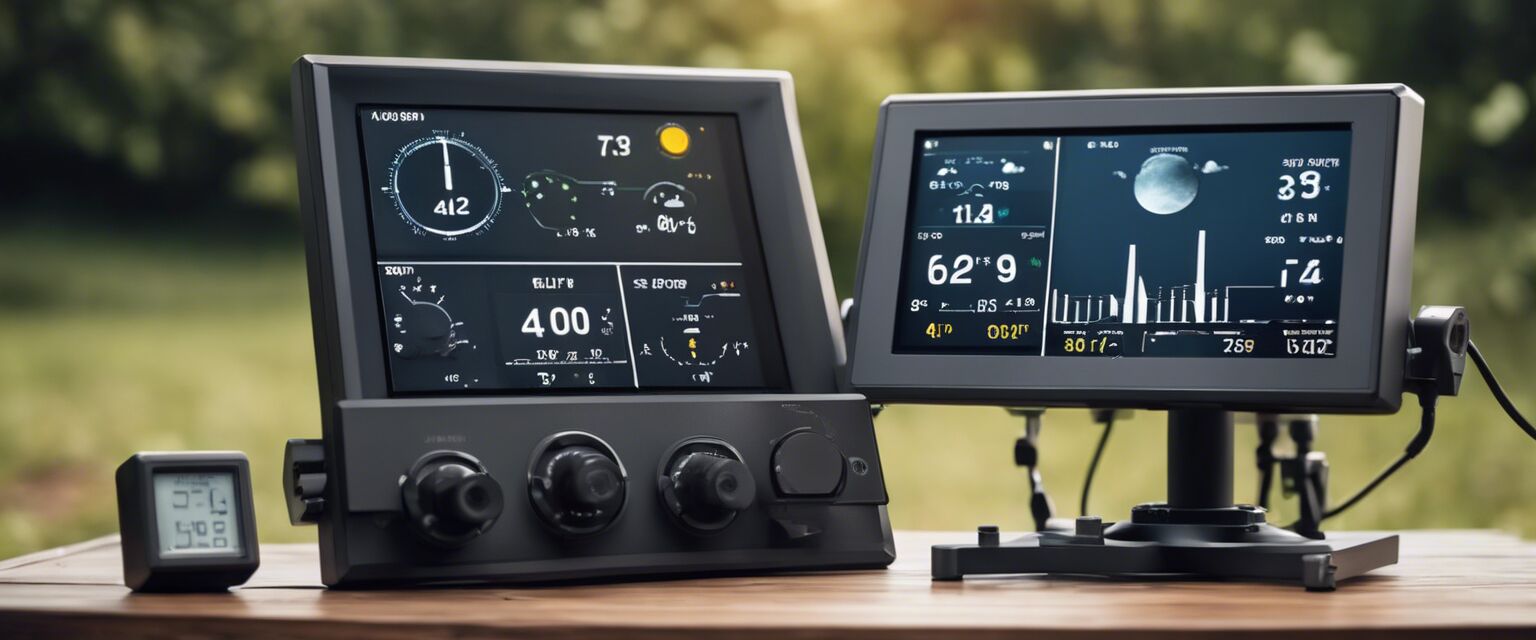
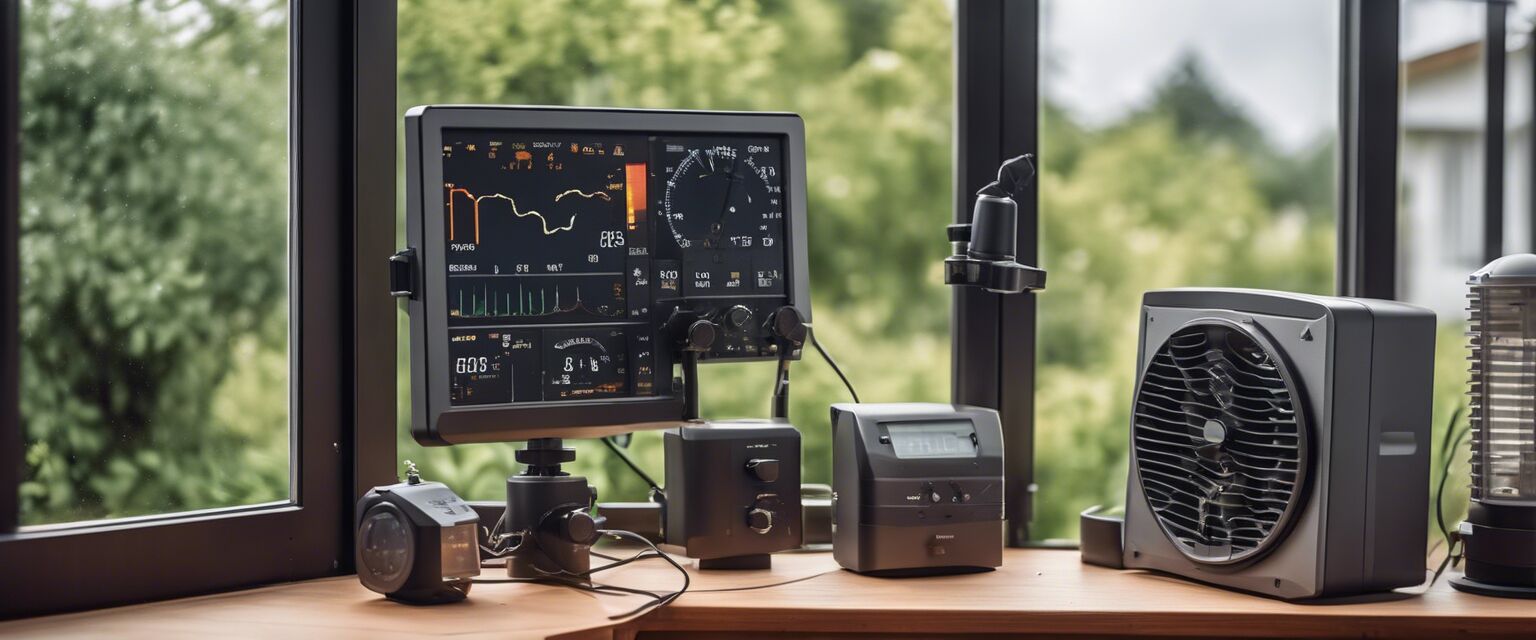
Home weather stations come in various types, including analog and digital weather stations. They can measure temperature, humidity, wind speed, and precipitation. If you are particularly interested in rainfall, a pluviograph is an excellent addition to your setup.
Types of Weather Stations
| Type | Features | Best For |
|---|---|---|
| Analog Weather Stations | Simple dials for temperature, humidity, and barometric pressure | Basic weather monitoring |
| Digital Weather Stations | Digital displays, often with additional sensors | Detailed weather tracking |
| Professional Weather Stations | Advanced sensors for comprehensive data | Serious hobbyists and research |
Step-by-Step Installation Guide
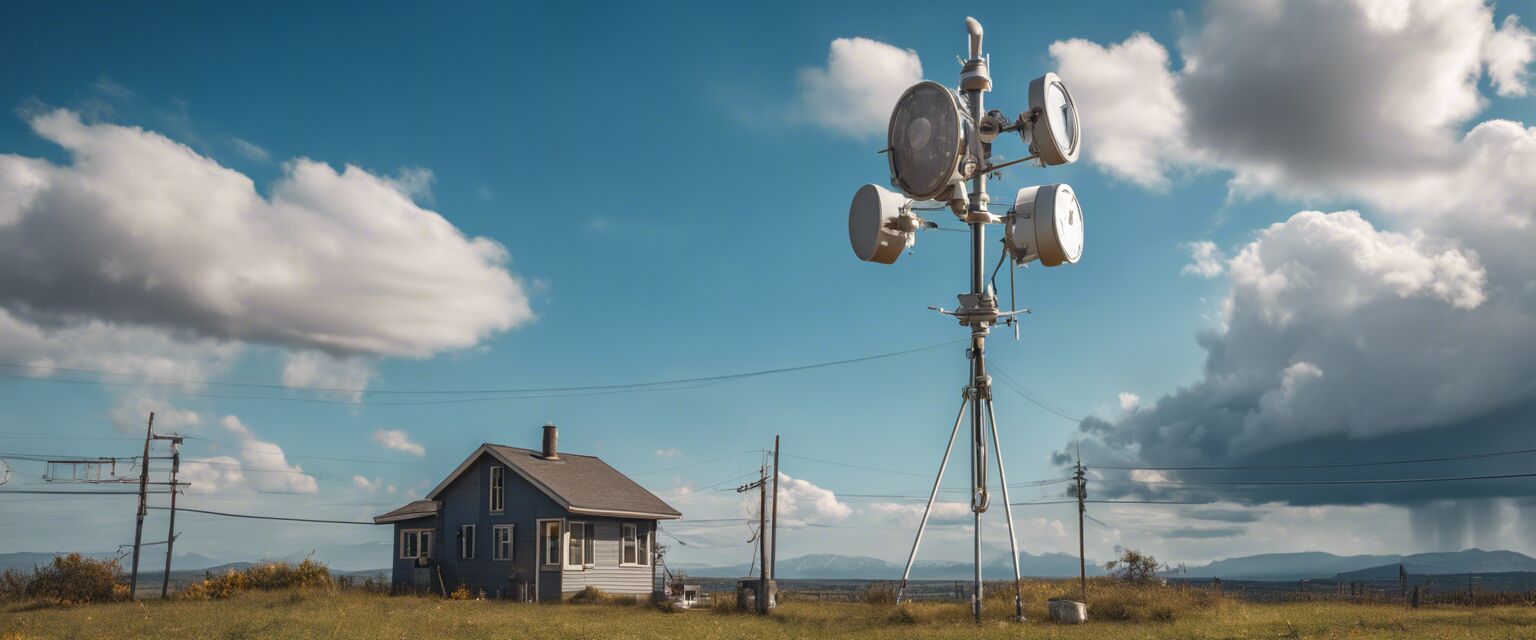
Step 1: Choose a Location
Select an optimal location for your weather station. Avoid areas with obstructions like trees or buildings that can affect readings.
Step 2: Gather Your Tools
- Drill with appropriate bits
- Screwdriver
- Level
- Tape measure
- Weather station kit
Step 3: Mount the Weather Station
Follow the manufacturerâs instructions for mounting your weather station. Here are some general tips:
- Use a sturdy pole or bracket.
- Ensure the unit is level and securely attached.
- Position the sensors away from heat sources like air conditioners or heaters.
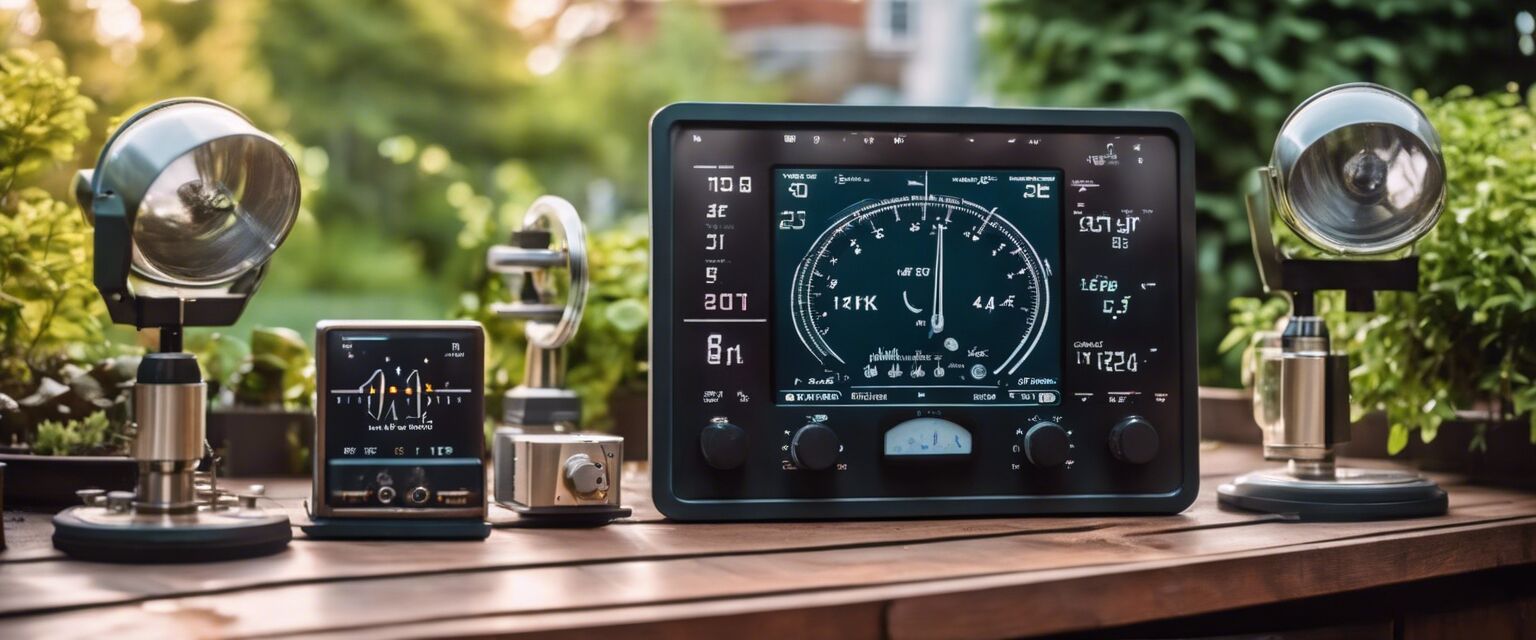
Step 4: Connect the Sensors
Each sensor may have different installation requirements. Refer to the instructions for connecting:
- Temperature and humidity sensors
- Rain gauge (pluviograph)
- Wind speed and direction sensors

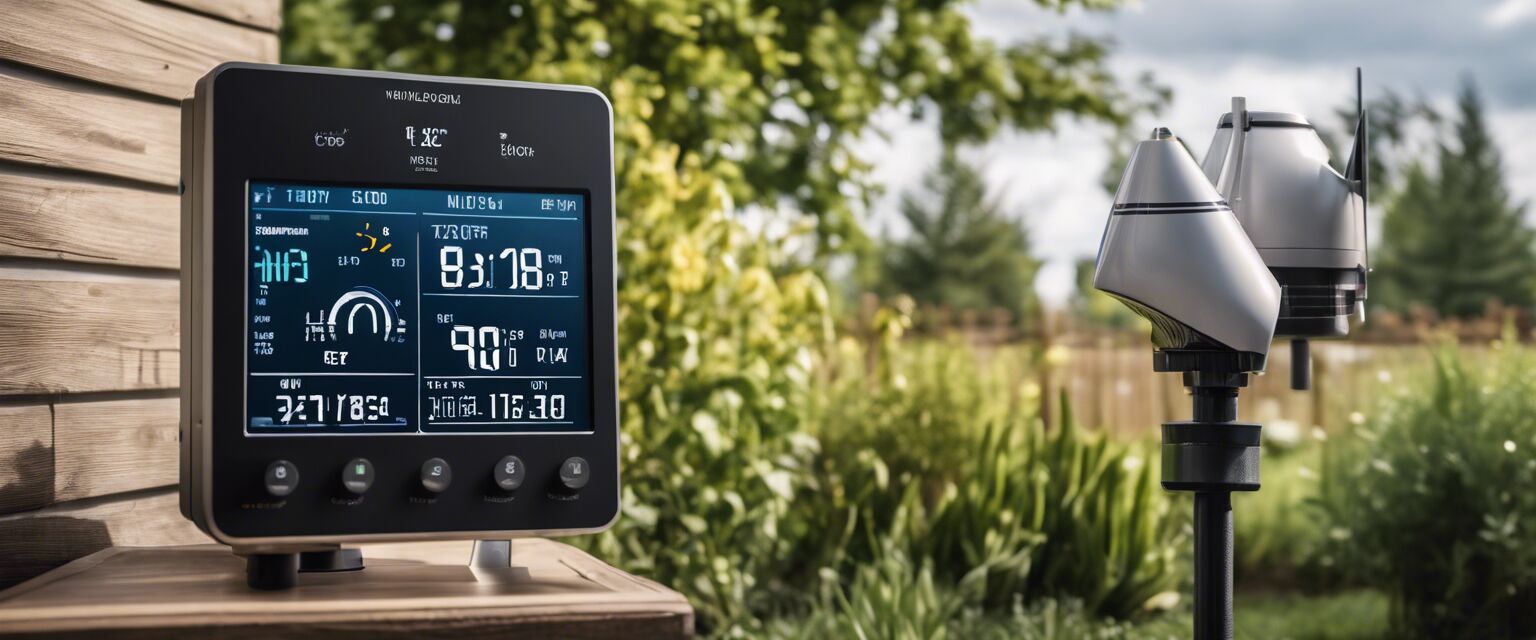
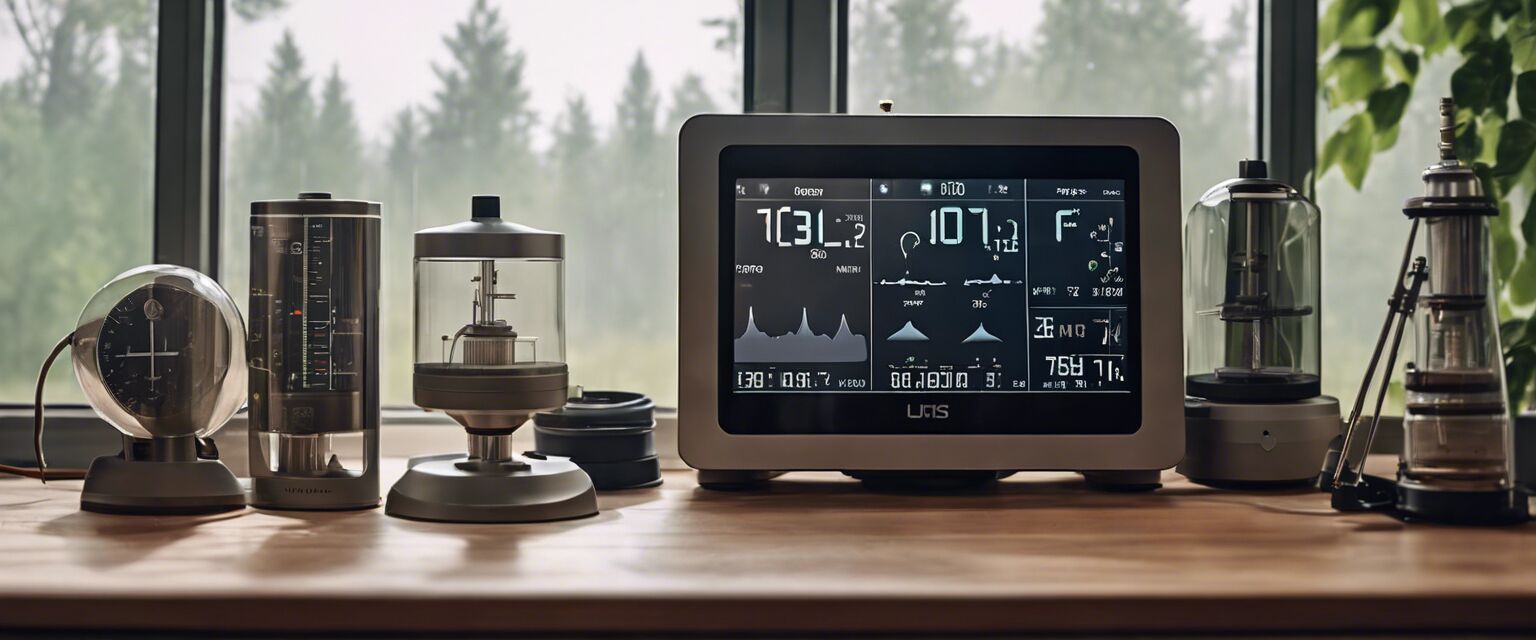
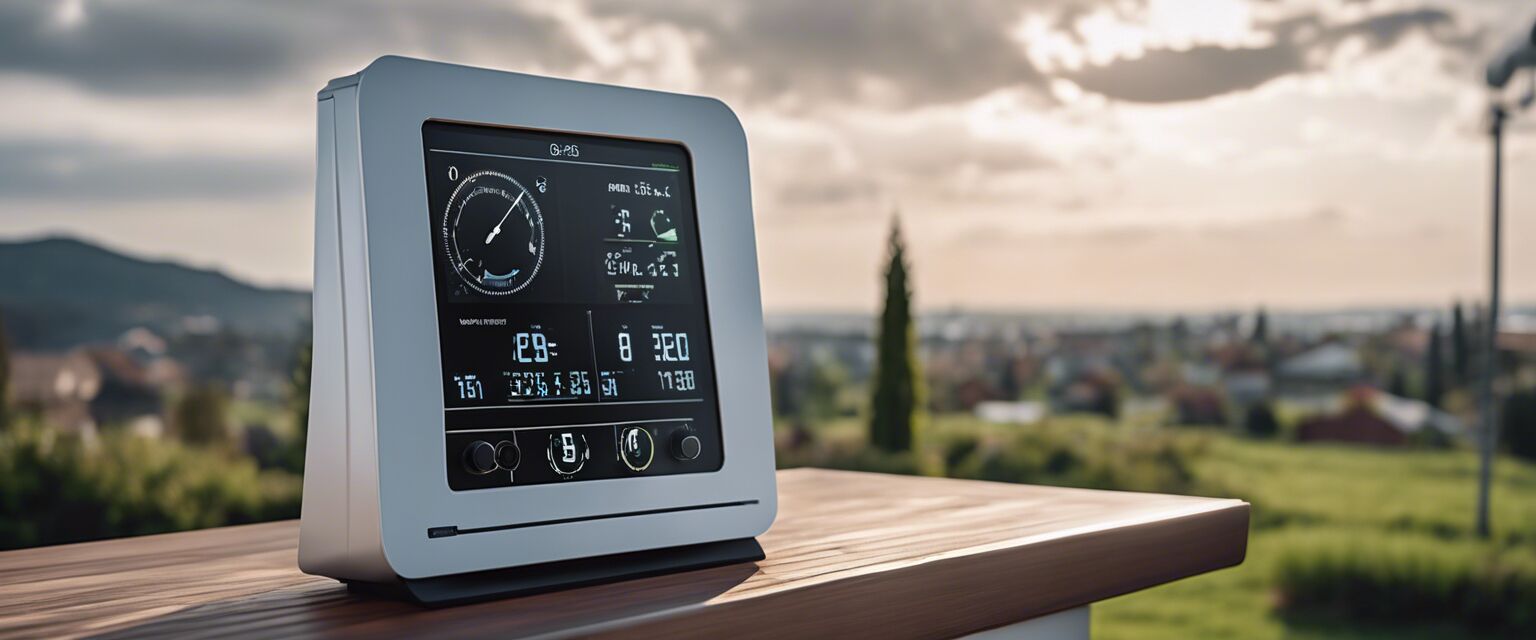
Step 5: Set Up the Display Unit
Once the sensors are installed, set up the display unit indoors. Ensure itâs placed where you can easily see the readings. Connect it to power and pair it with the sensors as per the manual.
Step 6: Connect to Wi-Fi (if applicable)
If your weather station supports Wi-Fi, connect it to your home network. This allows remote monitoring through a smartphone app or a computer.
Regular Maintenance Tips
Tips for Beginners
- Check the batteries of your sensors regularly.
- Clean the rain gauge to ensure accurate readings.
- Calibrate sensors according to the manufacturer's instructions.
- Monitor the weather stationâs performance periodically.
Common Issues and Troubleshooting
If you encounter problems with your weather station, consider these troubleshooting tips:
- Check sensor connections if readings are inaccurate.
- Reset the display unit if itâs not receiving data.
- Ensure the unit is not affected by obstructions.

Conclusion
Installing a home weather station can provide invaluable insights into your local weather conditions. By following the steps outlined in this guide, you'll be well on your way to successfully setting up and maintaining your own weather station. For more information on different types of weather stations, check our categories on analog weather stations, digital weather stations, and wireless weather stations.
Pros
- Accurate and real-time weather data.
- Enhances gardening and outdoor activities.
- Can be a fun project for DIY enthusiasts.
Cons
- Requires regular maintenance.
- Initial setup can be complex for beginners.
- Some models can be expensive.